
When we lived in our temporary rental space for four years, I had a fresh color palette in mind of teal, cobalt, and emerald. I saw these Mexican handblown glass wall vases at Arhaus furniture and fell in love. I waited for a 30% off sale to order. Upon receiving them, I hung them in our kitchen. I loved changing out what I put in them, from cuttings to fresh bamboo sticks.
After rehabbing this current condo during the pandemic, I decided to move into a more modern style and changed my color palette again. I struggled for months about using or selling these colorful vases. Late one night, while not even thinking about the vases, it popped in my head to spray paint them.
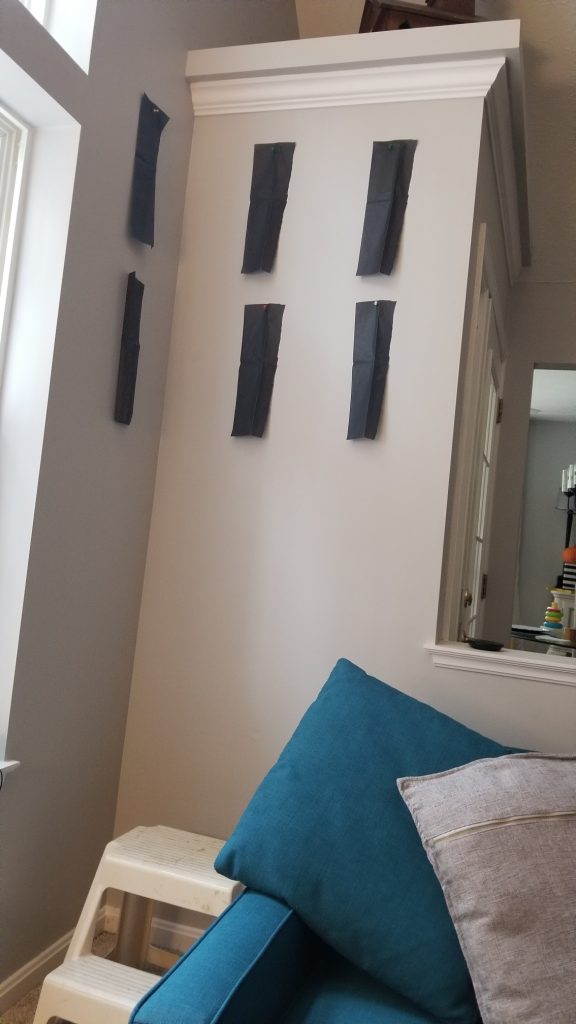
Between making that decision (my husband was not enthusiastic), I also had been admiring the idea of hanging a collection that wrapped around a corner. Since I did not have any other corners where this would work, I decided to try out the idea on my wall using black paper cut into the approximate size of the wall vases. This way, I could gauge the spacing and placement while deciding if I liked it.
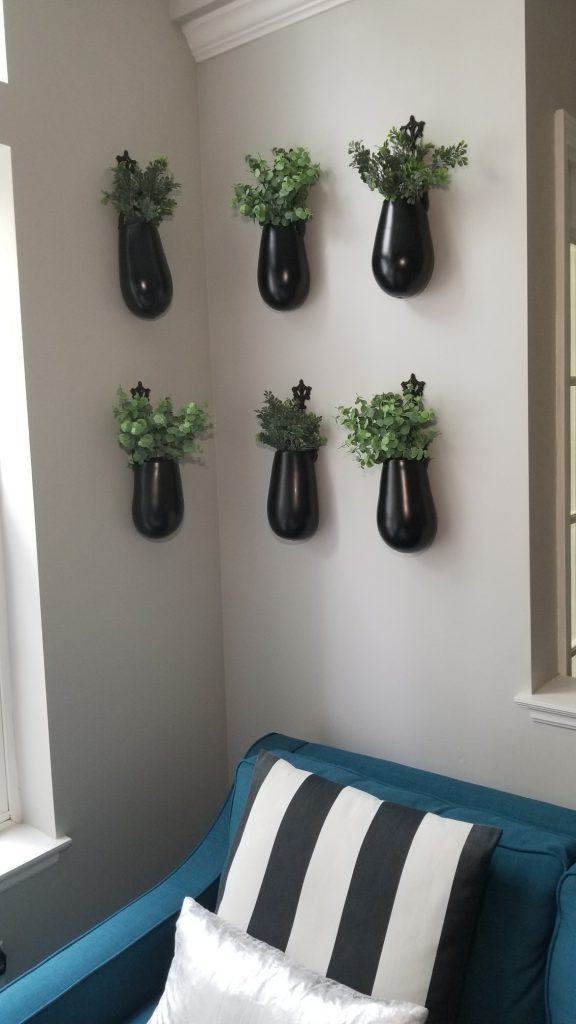
After a few days of black paper hanging on my walls, I decided I loved it and set out to paint the wall vases. I can change out what I put in them with the season or on a whim.
Of course, you can use these same steps for any art—paint frames of your favorite prints.
I receive so much pleasure restyling what I already own or items I have thrifted. What are you contemplating in your space? Do you need inspiration? Would a plan help you make decisions in making upgrades in your home? I love to support DIYers with inspiration, motivation, and coaching.
Step 1: Creating paper cut-outs of the proposed item. Live with it a few days.
Step 2: Spraying the glass vases. It took a few coats.
Step 3: Hang & style the space.
Cost: 1 can of black satin spray paint. $6
 Vases as purchased | 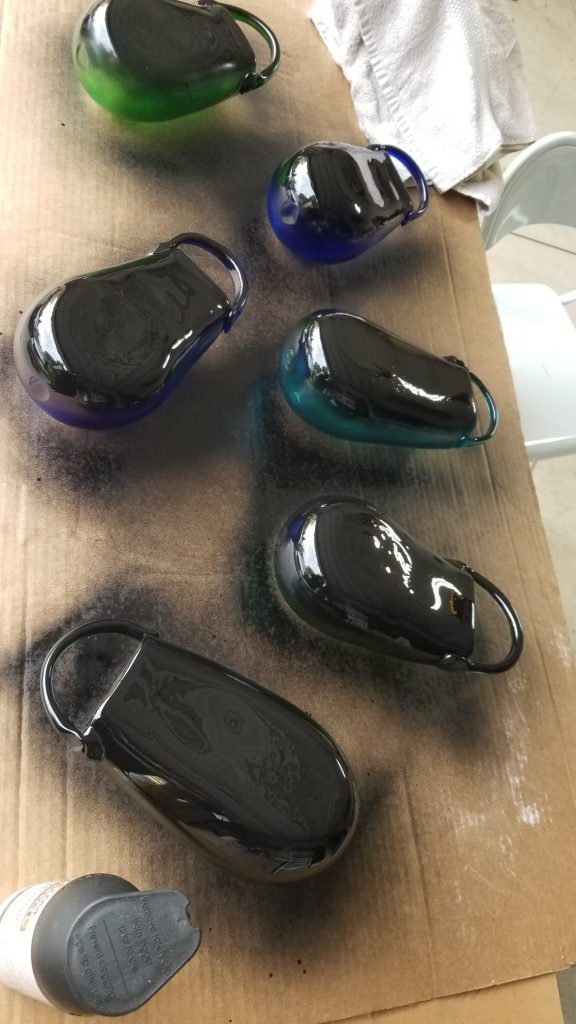 Painting |
 checking the spacing | 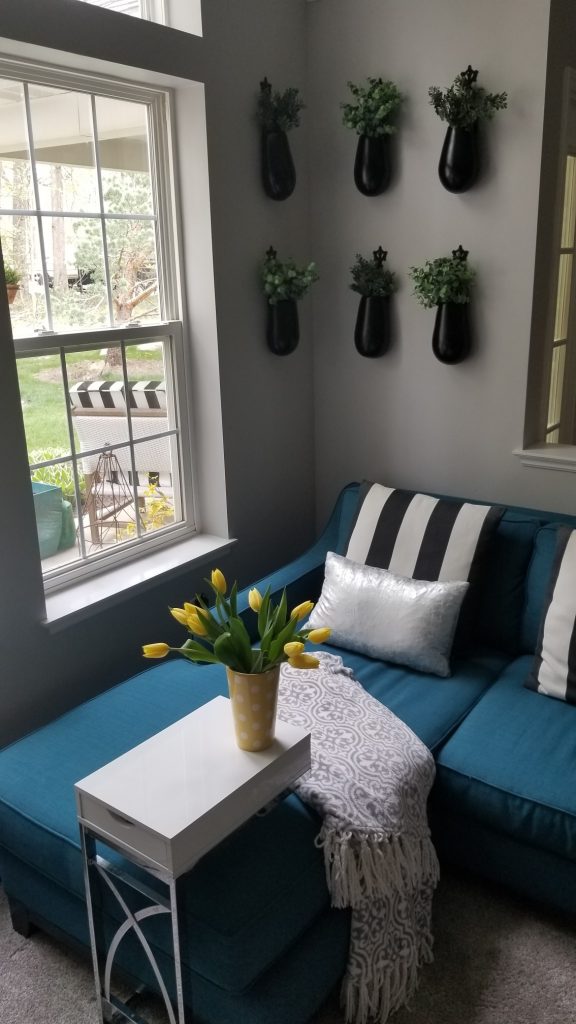 Finished vases |

Recent Comments